Use BuilderDuck to link a button to a pre-selected payment method, customize its text and style, add a second button, and include icons
On the booking page, you will find buttons.
.png)
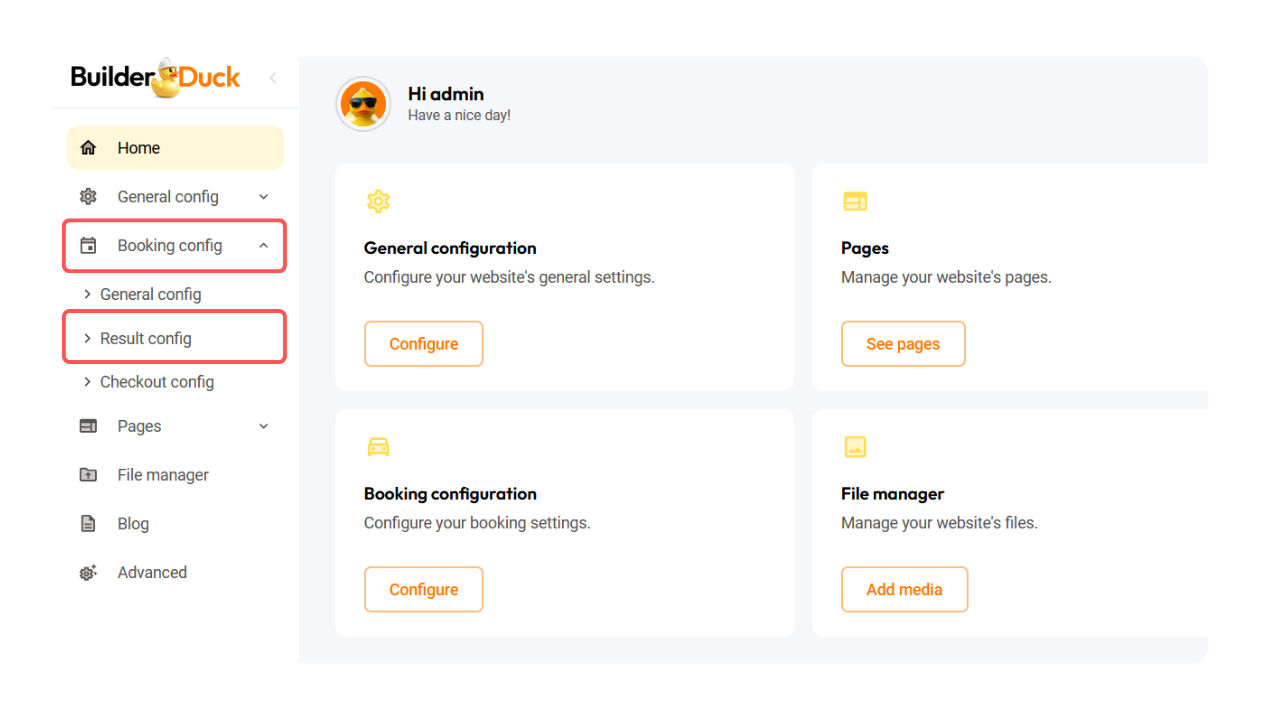
To customize them, go to 'Booking Configurations' in the sidebar and select 'Result Configurations.'

From there, open the Buttons dropdown menu.
In the 'Payment Method' field, select the method you want to display as pre-selected on the checkout page when the client presses the button.
.png)
💡Clients can still manually choose a different payment method on that page.
In the next field, you can customize the button text. If you use the booking price will be displayed in your text.
.png)
💡For multi-language pages, customize the button text for each language by selecting the appropriate language flag from the dropdown menu and entering the new text for that specific language.
In the section below, you can fully customize the button style. Adjust the background color, hover color, border color, shadow, border width, border radius, and border style. You can also modify the text color, choose a different font family, font style, and size, transform the text, and customize the line height and letter spacing
.png)
You also can add an icon to your button. In the 'Icon name' dropdown menu select the icon.
.png)
You also can select the icon alignment, size, color, and hover color in the next fields.
Finally, you can customize the button's padding for the top, bottom, right, and left by entering the desired pixel values in the corresponding fields.
.png)
To add a secondary button, toggle the switch 'Show Button' in the Secondary Button section.
.png)
Below, you will find the same customization options as the primary button. Adjust them as desired, and then click Save Changes.
