
There are two ways to input Expenses on the system:
* From the lateral vertical menu (Points 3 and 4)
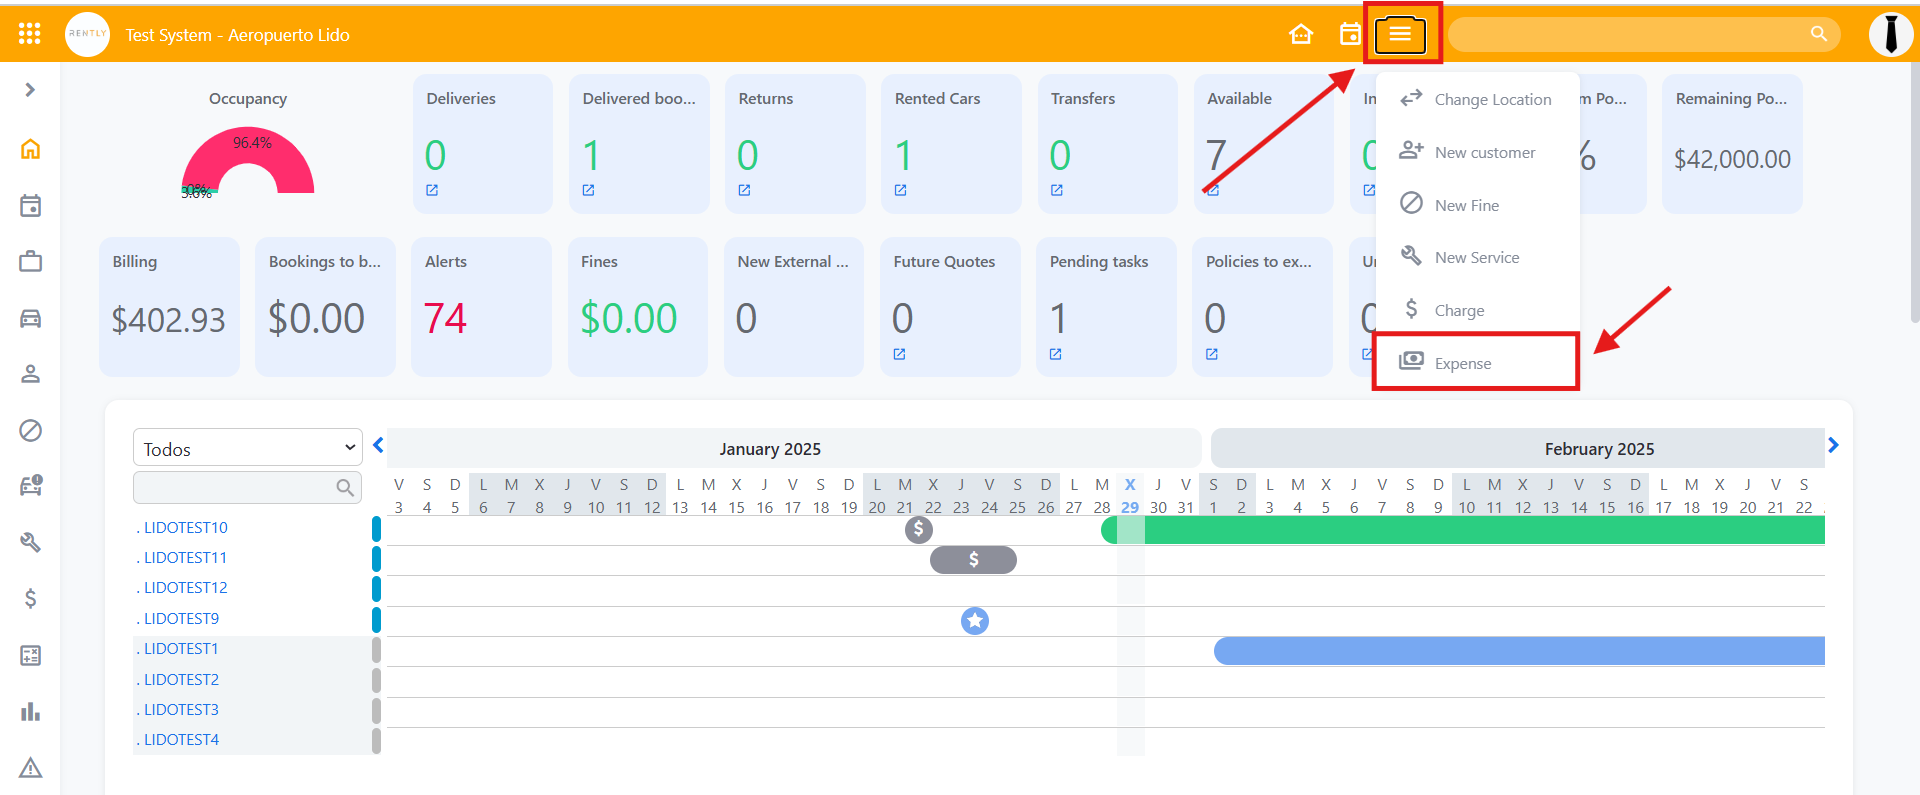
* From the quick access (Points 1 and 2)
1. In case inputting an Expense from the quick access, you should click the 3 lines menu, then the bill symbol and a screen will pop up, to complete with all the details of the Expense.

2. Enter the corresponding information:
-
Payment date
-
Period of closing - in case of wanting to input a payment on a different period of closing than the date of payment.
-
Concept
-
Amount
-
Car - in case you want to link the Expense to a Car, like a maintenance expense for example. Either way, it is not a mandatory field, such as the Expense can be from a Light Expense for example.
-
Booking - n case you want to link an Expense to a specific Booking.
-
Type of Payment
-
Account
-
Invoice Number
-
Payment Information
-
Description - in case you want to leave extra information registered with this Expense.
-
You will be able to attach files like a receipt for example.
-
Advance expense - by selecting this option, it will lead you to the same screen as the one the option of loading an Expense through the lateral vertical menu will:
Select Pay
3. If you want to enter an Expense from the vertical side menu, select Cash - Expenses and click on New.

4. Complete the data, similar to the latter one, with the quick access, but with some specificities.
-
Payment date
-
Period of closing - in case of wanting to input a payment on a different period of closing than the date of payment.
-
Concept
-
Attach files like a receipt for example.
-
Amount - you can enter a amount for a specific car, or select various cars which will be divide in equal parts the amount, by selecting the "Divide by selected cars"
-
Cars- you can choose as many cars as you need. Meaning, if you want to make a single payment for several cars expenses.
What is more, on the right side of the screen you can find the invertor's cars. In case you want you can select them as well, to link them to a Expense. -
Type of Payment
-
Account
-
Invoice Number
-
Payment Information
-
Description - in case you want to leave extra information registered with this Expense.
-
Branch Office
-
Select Save
In case you do not have permission to proceed with this transaction, inform your administrator so he can enable you the "Can add Expense" permissions