When a user selects the car to book, they are redirected to the checkout page.

To customize it, go to 'Booking Configurations' and select 'Checkout Configurations.'

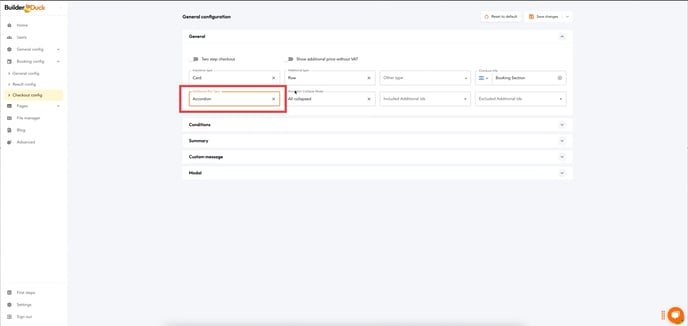
In the General section, you can decide whether to display the insurance and additional information as either a card or a list. Simply make your selection from the respective dropdown menu.

You can also choose whether the information will be displayed as boxes or as an accordion in the dropdown menu here.
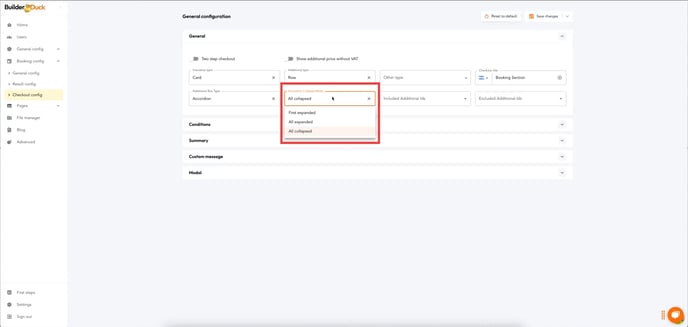
In the dropdown menu next to it, you can choose whether you want all sections collapsed, all expanded, or the first one expanded and the rest collapsed.
💡Preview:

In the Conditions section, you can enable the display of the Terms and Conditions details by toggling the switch. In the following field, enter the URL containing the Terms and Conditions of your car rental company.

In the next field, you also can the Privacy Policy URL.

💡For multi-language pages, customize URL for each language by selecting the appropriate language flag from the dropdown menu and entering the new URL for that specific language.
In the 'Car Details' section, you can customize which information is displayed in the car booking summary. Simply toggle the switchs on or off to show or hide the details.

GLOSSARY:

In the same way, you can customize which franchise information will be display. Simply toggle the switchs on or off to show or hide the details.

You can add a custom message by entering the text in the text box.

💡For multi-language pages, customize text for each language by selecting the appropriate language flag from the dropdown menu and entering the new text for that specific language.
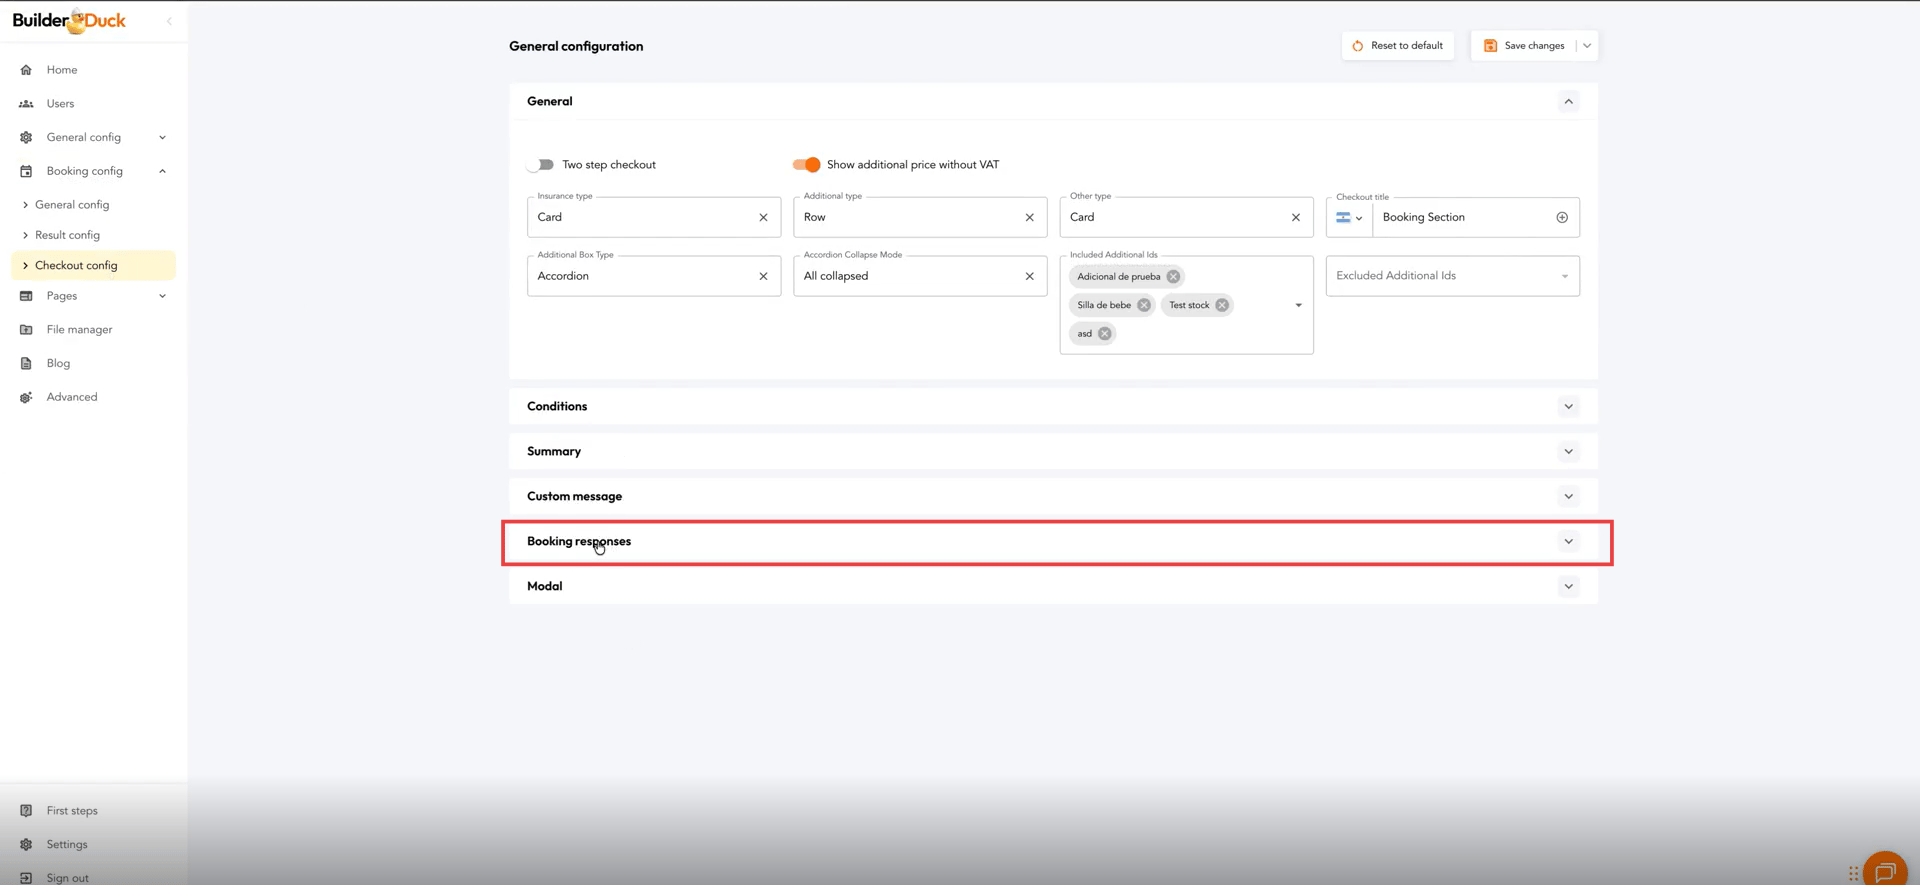
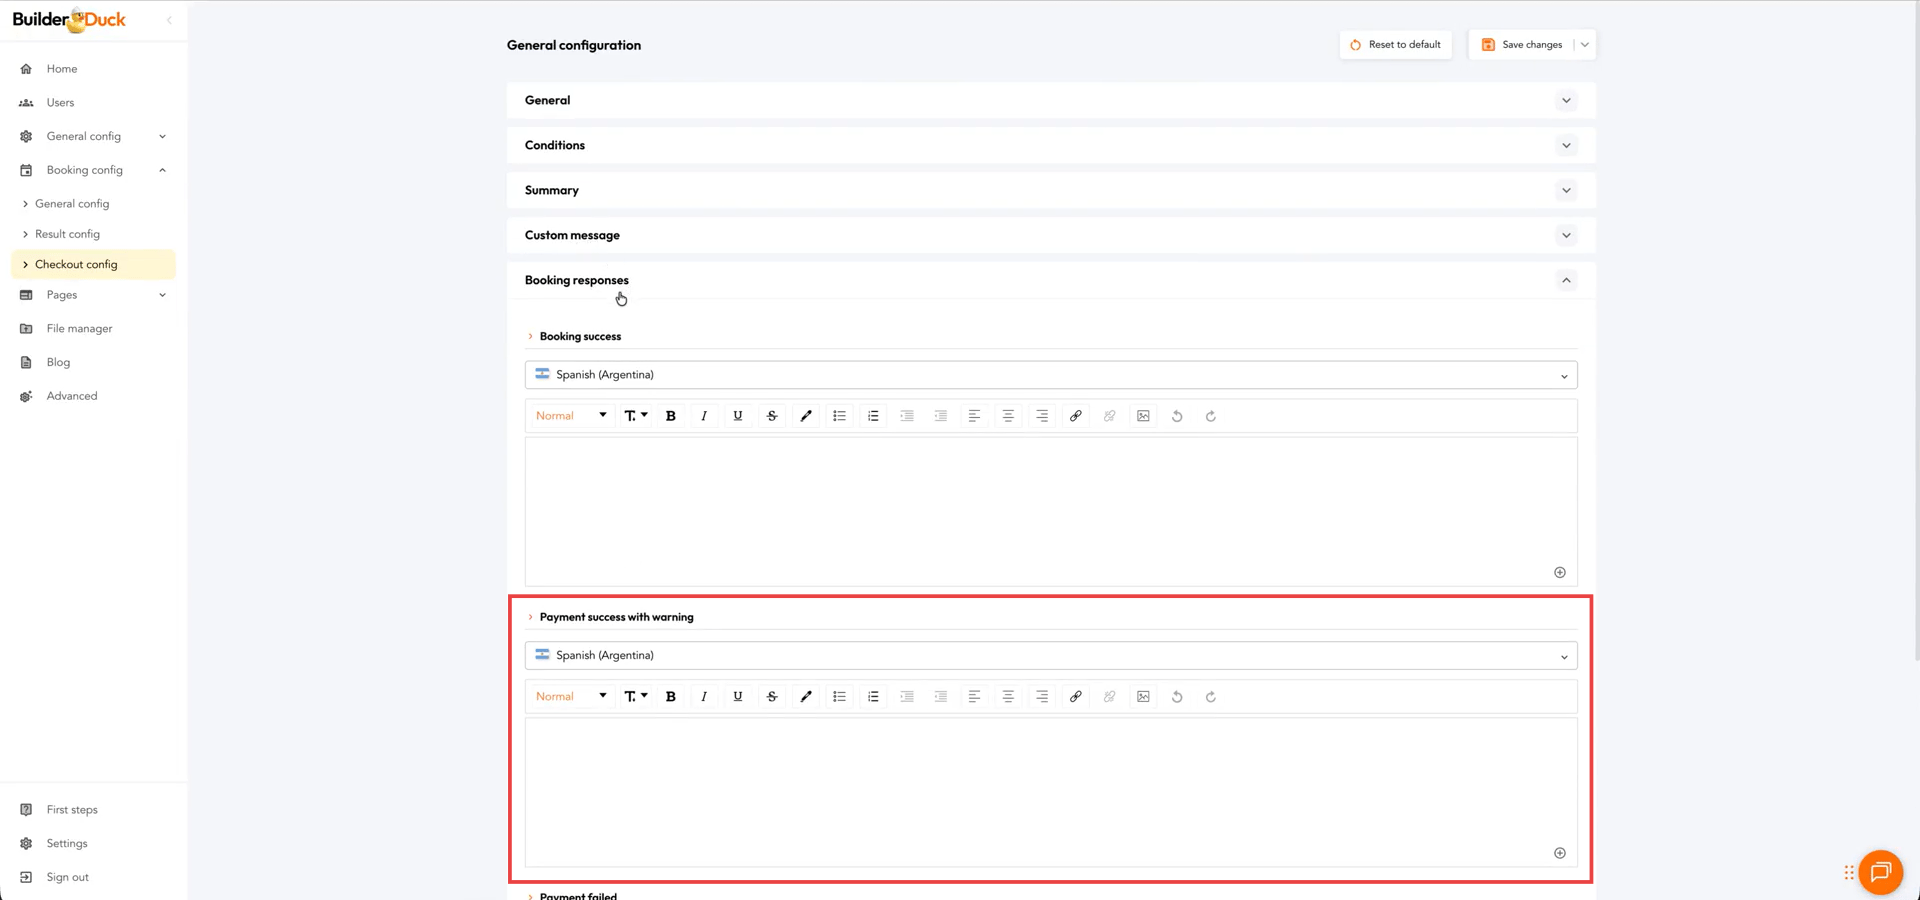
Finally, you can customize your booking messages. To do this, open the Booking Responses section.
In the Successful Booking text box, you can customize the message users will see when their booking has been successfully scheduled (this applies to both bookings with or without payment).
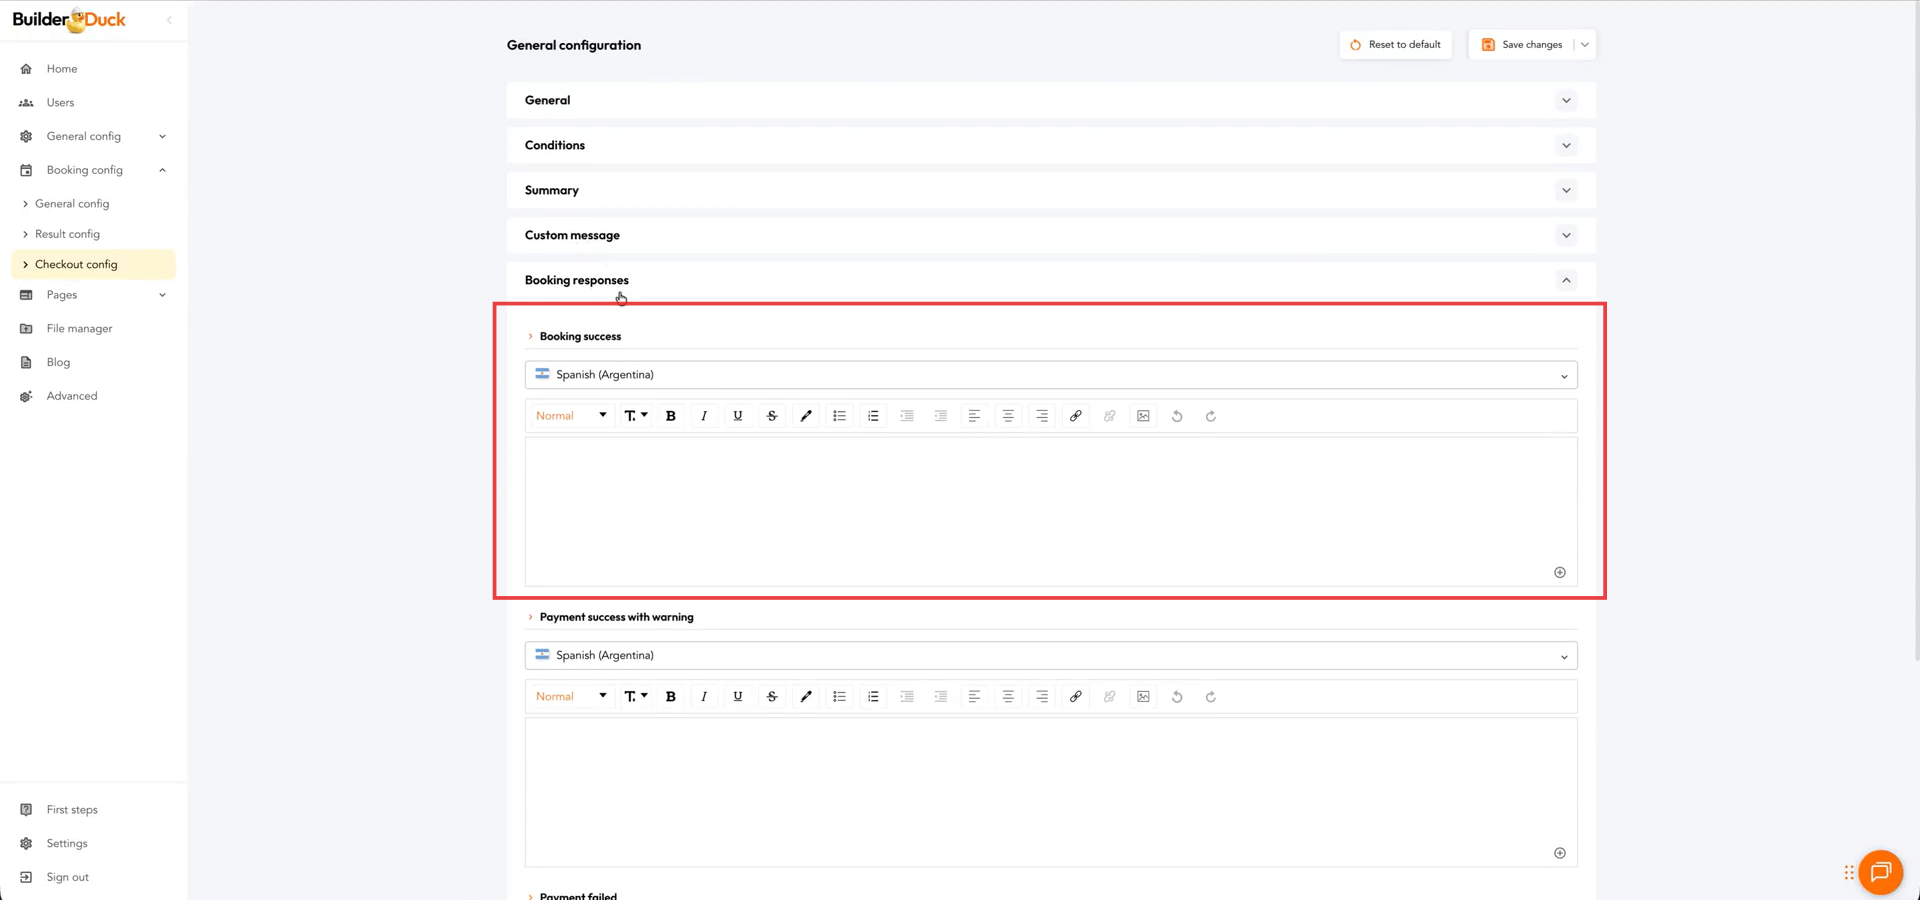
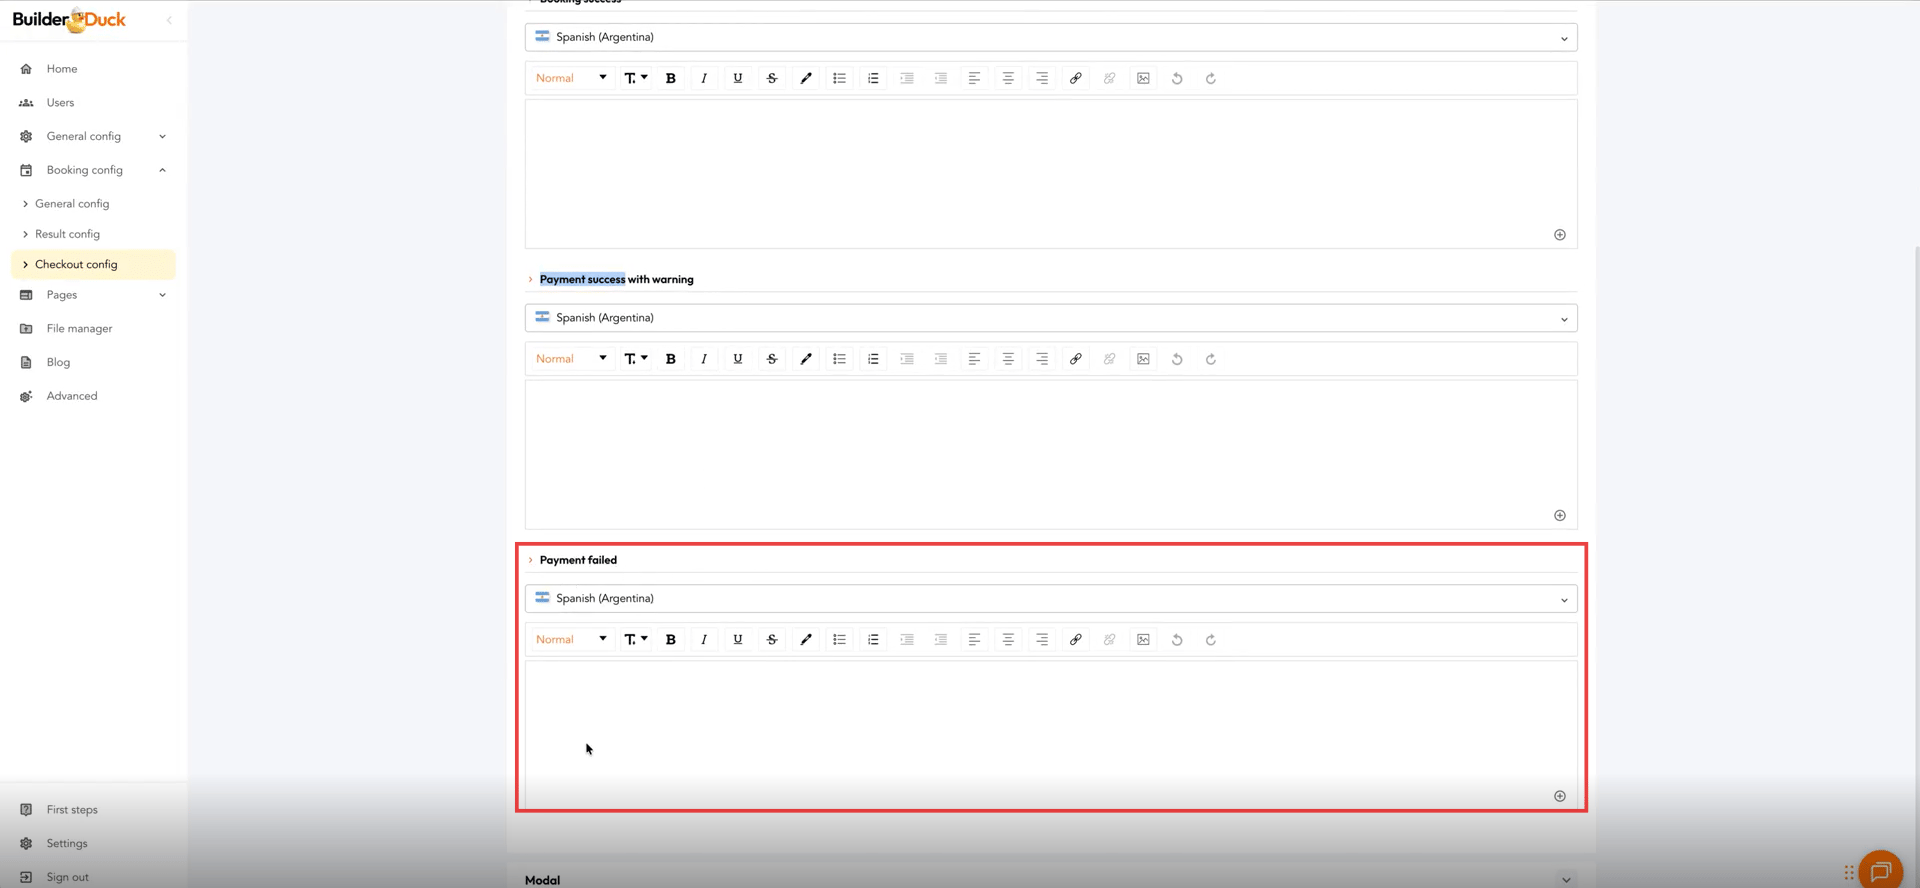
You can also customize the message shown when a booking payment is successful but the payment is not synced with the RMS, meaning the payment went through, but it’s not reflected in the reservation. To do this, write your message in the Successful Payment with Warning text box.
Lastly, you can customize the message customers will see if the payment fails, using the Failed Payment text box.
💡 For multilingual pages:
Customize the text for each language by selecting the corresponding flag from the dropdown menu and entering the new text for that specific language.
When you’re done, click Save Changes to publish your customization.